My Astro Setup
Home » My Astro Setup
Types of Gear
The type of gear needed varies depending on the target you are imaging. For instance, galaxies are MUCH further away and appear very small compared to nebulae so you need a telescope that has a longer focal length. Likewise, because planets are so small in the sky, you need a long focal length to be able to see their details.
There are other considerations to think about for each target. Do you want to auto-guide? Do you need portability of equipment? Are you imaging the sun? Are you imaging nebulae that emit light in only certain wavelengths? And so on.
I started my astrophotography hobby, like most people do, from traditional photography. So I began with a simple tripod and mirrorless camera, taking photos of the Milky Way. This soon accelerated into investing in several mounts, a proper telescope, and a dedicated astro camera. So let’s walk through the equipment I use today as it might help if you are looking to start taking your own astrophotography images.
Mount:
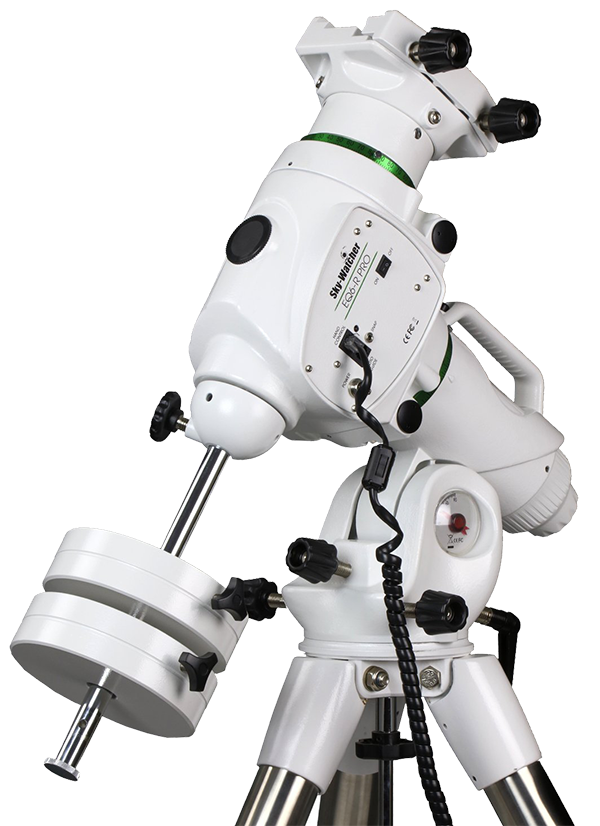
Skywatcher EQ6R-Pro
My first upgrade was to a Skywatcher Star Adventurer. This portable mount allows you to track the stars on one axis. This was a great beginner mount. It helped me learn how to polar align and manually locate targets like Andromeda. With its portability comes trade-offs. You do not get any go-to functions and you need to polar align manually. It also has a max payload of only 12lb, so I quickly outgrew it and began looking into a larger, more solid mount.
The EQ6R-Pro is a massive improvement. Not only can it handle 44lb of equipment, but it also adds go-to functionality that allows me to enter the target I want to image and the mount will slew automatically to it. To handle the payload size, the mount itself weighs in at about 80lb, so it’s not as portable as the Star Adventurer. Overall, the mount is super solid and has been able to handle all my needs.
Imaging Camera:
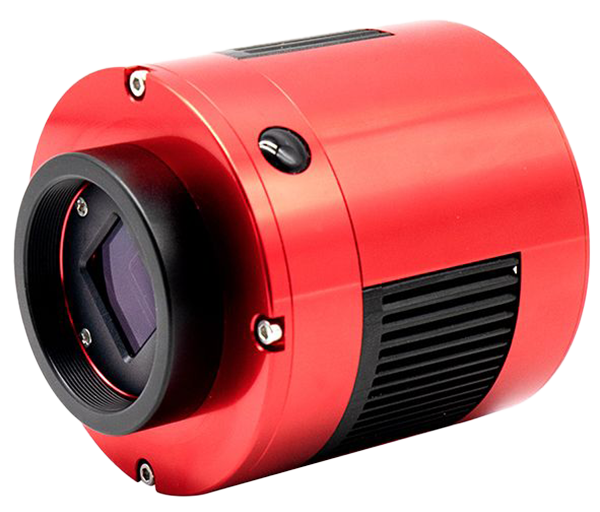
ZWO ASI533MC-Pro
I started my astrophotography hobby using a Sony a6300 camera. With its mirrorless, low-noise sensor, it was great to image large galaxies like Andromeda. There are two main issues that hinder the use of a mirrorless or DSLR for astrophotography.
The first is that manufacturers place a UV/IR light filter on top of the sensor. This is needed for traditional photography but reduces the specific wavelengths that most astro targets are emitting. Now there are services that you can send your camera to that can remove this filter, but then you need to always use a threaded UV/IR filter if you want to go back to traditional photography. The second problem is that DSLRs and mirrorless cameras are not made to take super long exposures (up to 10 minutes) for hours at a time. Because of this, they suffer from overheating and/or heat noise. For this reason, dedicated astro camera have a cooling fan to keep the sensor at a specific temperature the entire imaging session.
I chose to purchase a color camera vs a monochrome camera. Monochrome has its benefits, but with this being my first dedicated camera, I didn’t want to stray too far from my knowledge base. Now, dedicated astro cameras do not have any inputs on their bodies like DSLRs do, so you also need to invest in a computer that runs the camera.
Telescope:
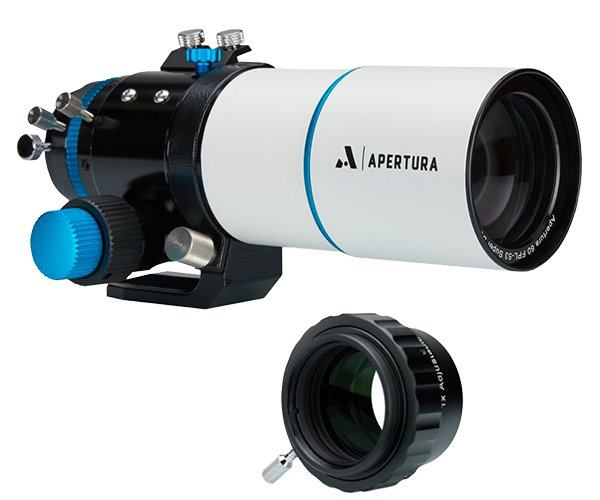
Apertura 60ED Refractor
A telescope is a great upgrade over a traditional photo lens for a few reasons.
The first is that they are designed to be focused on stars that may only cover one or two pixels wide. This requires the glass to be pristine, even more so than a photo lens. Another reason is that they can be engineered to provide a crisp, sharp focus across the entire camera sensor. Photo lenses tend to suffer from coma which feathers the focus at the corners.
The Apertura 60EDR is a great wide-field refractor (360mm focal length) that can image most nebulae and large galaxies. I opted to bundle it with a field flattener which removes those pesky coma issues. The 10:1 focuser is also a great upgrade from a photo lens to get sharp stars.
For distant or small targets a larger telescope is needed to get the focal length reach. Larger telescopes also allow more light to hit the sensor, allowing you to image fainter objects.
Telescope:
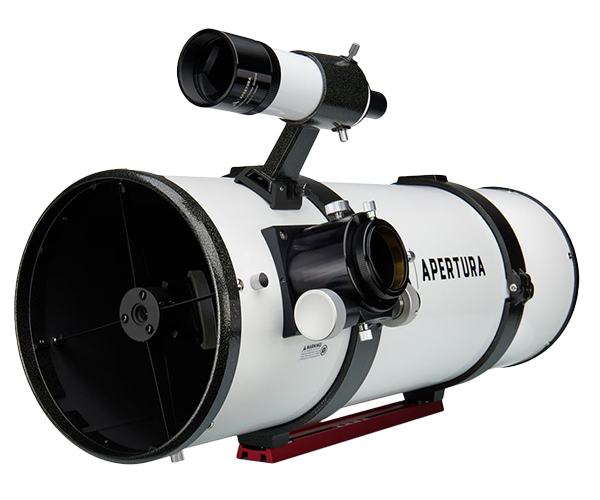
Apertura 8in Imaging Newtonian
A telescope is the newest addition to my equipment lineup. Its larger area for collecting light means that I get about 5x more light per image. Compared to the 60EDR refractor, this allows me to see fainter objects, resolve finer details, and see smaller objects.
The Apertura 8in Newtonian is a reflector-style telescope with about 762mm focal length using a coma corrector. I can image smaller nebulae and galaxies with the larger aperture and focal length. I also purchased an Ocal collimation camera and a traditional collimation laser to aid in getting sharp stars across the field of view.
Computer:
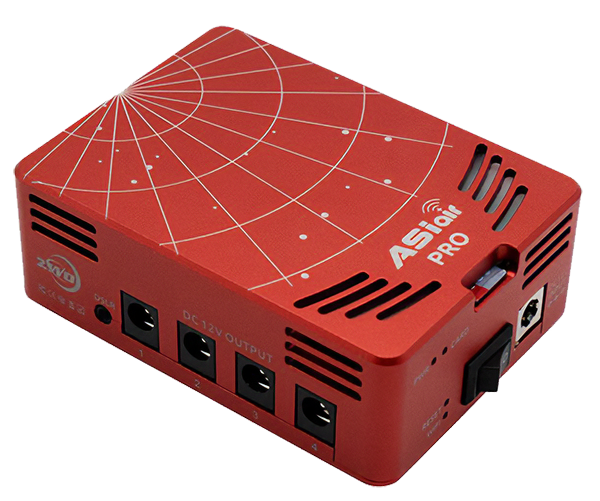
ZWO ASIair Pro
The ASIair Pro is a tiny computer that is specifically programmed for astrophotography. It comes preloaded with all the software tools needed to easily polar align the mount, control both the imaging and guide cameras, search and slew to targets, plan imaging nights, and more. This mini system is all controlled via a mobile app using Wi-Fi and saves files to a USB flash drive.
This little device has made everything about imaging at night so easy. While all of these features can be done via a laptop, the ASIair Pro’s size and weight allow it to be attached to the telescope itself. This cleans up the cables and scales down the equipment size.
Guide Camera & Scope:
ZWO ASI120MM Mini, 30mm Scope,& 60mm Scope
An auto-guiding system is needed to ensure that your target stays in the same position throughout the entire imaging session. A small monochrome guide camera is connected to the computer or mount, analyzes its image for any pixel shift, and then sends a signal to make subtle changes to the mount’s tracking speed.
A poor polar alignment can make your mount think it’s pointing at a different part of the sky which can slowly slew away from your target as the night progresses. If you are taking short 30-second exposures, this isn’t a huge issue, but when they’re each 5 minutes long, that can cause a big problem that’ll make your stars blur and trail.
Another positive to having a guiding system is correcting any errors made by wind. The full telescope and mount setup can get rather large and presents a large area for the wind to push on it. This can move the telescope just enough to cause imaging problems. Plus, the longer the telescope focal length, the greater the need for a completely solid mount and autoguiding setup.

Other Accessories
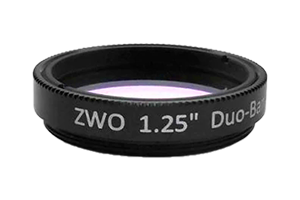
Duo-Band Filter
A Duo-Band Filter only lets specific wavelength of light through to the sensor.
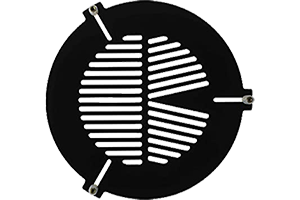
Bahtinov Mask
For assisting in focusing the telescope.
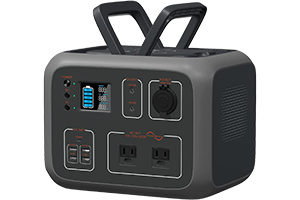
Portable Power Station
For powering your mount, dew heaters, and computer while away from an power outlet.
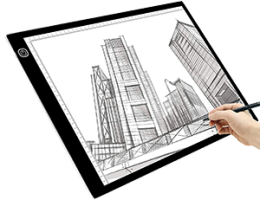
Flat Frame Light Box
Provides a flat light source while taking the flat calibration frames.
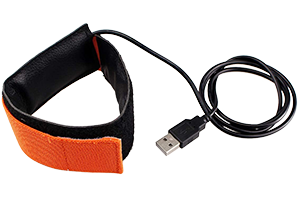
Dew Heater Straps
Warms up the telescope lens so dew does build up during the night.

Processing Software
PixInsight, Photoshop, AstroPixelProcessor, DeepSkyStacker, StarStax, and DeNoise
